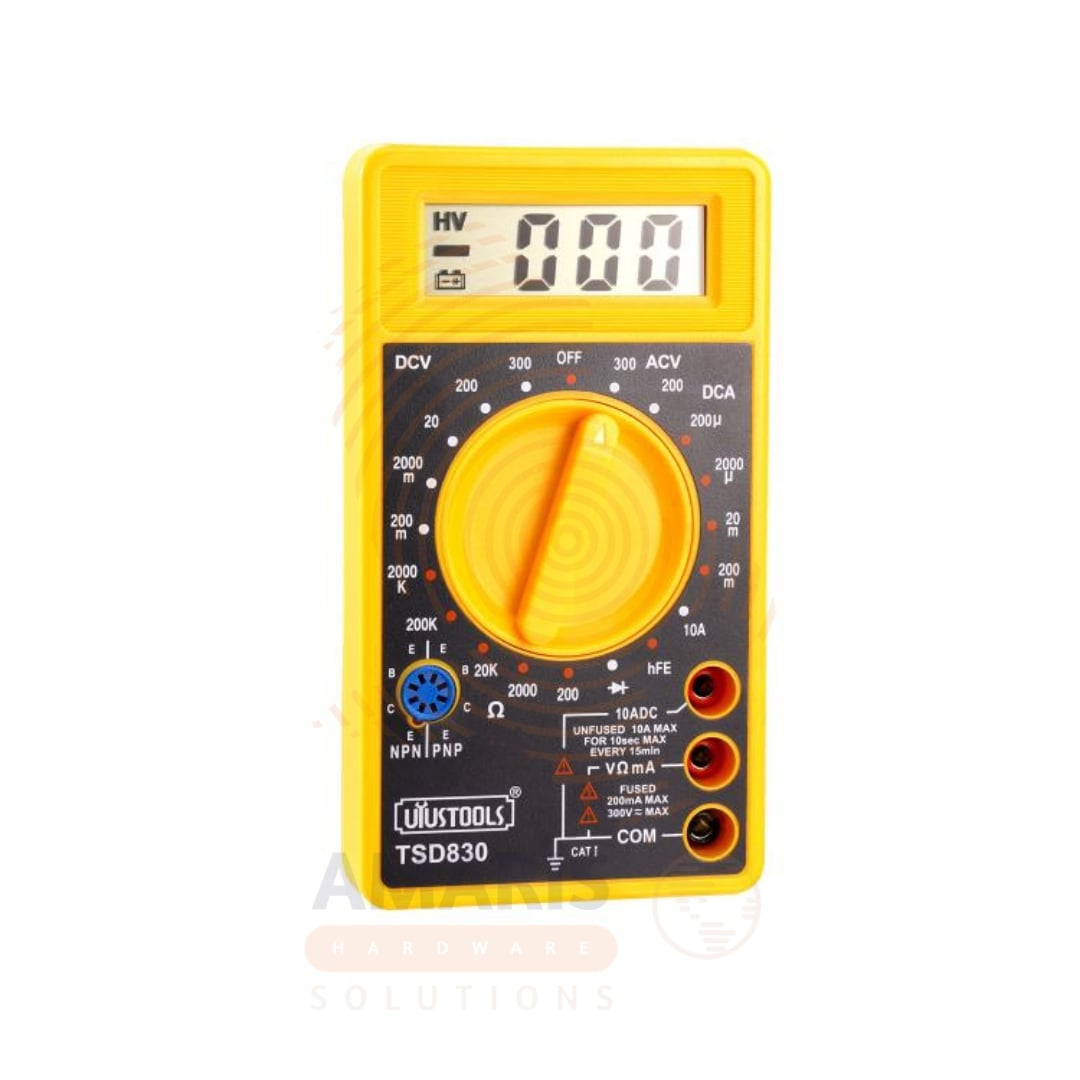
If you’re a DIY enthusiast, you’ve likely encountered moments where accuracy is key—whether you’re troubleshooting a faulty circuit, testing batteries, or tinkering with electronics. Enter the digital multimeter (DMM), an indispensable tool that combines versatility and precision in one compact device. This guide will help you unlock the full potential of your digital multimeter, turning it into a cornerstone of your DIY toolkit.
What is a Digital Multimeter?
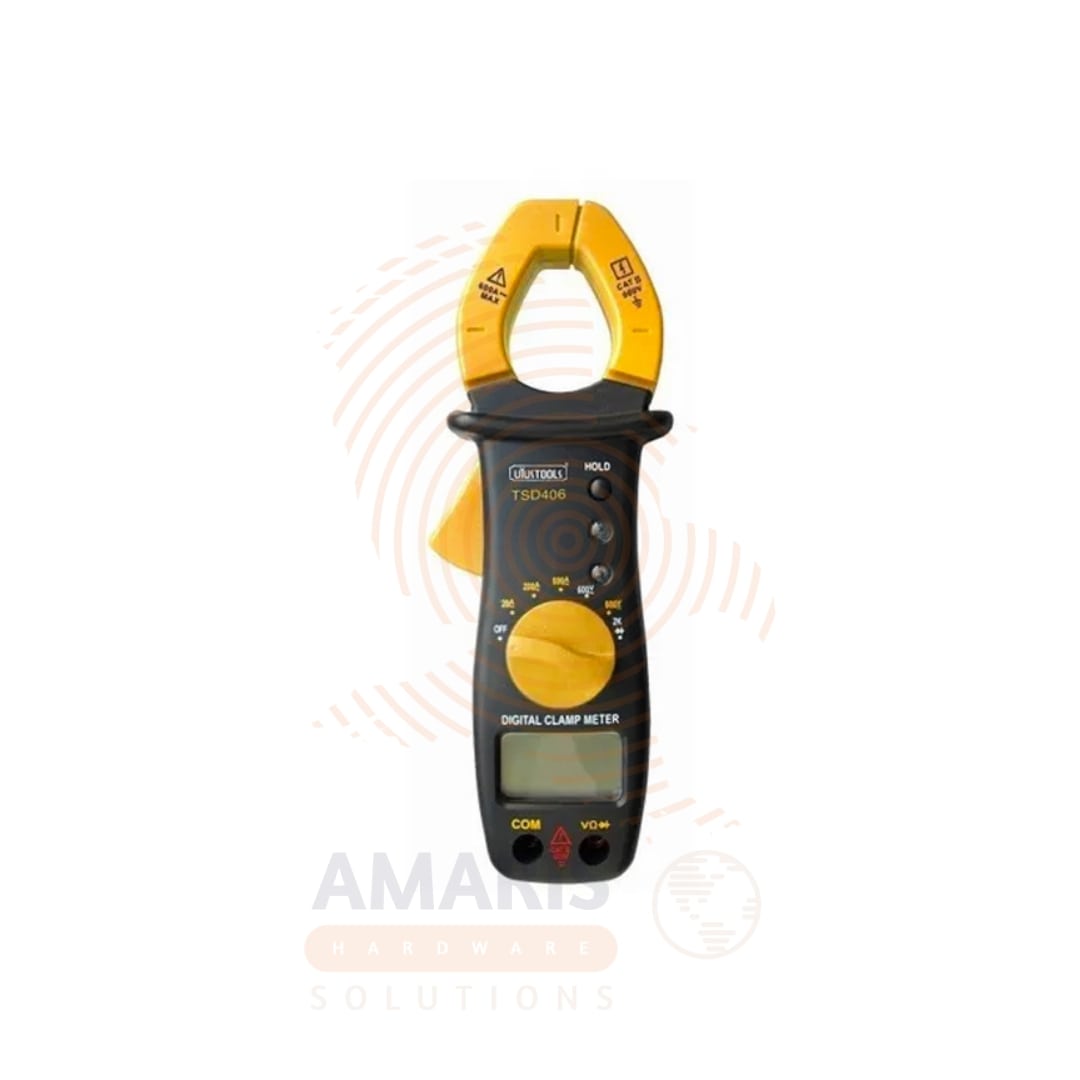
A digital multimeter is an electronic measuring tool that integrates three essential functions:
- Voltmeter – Measures voltage.
- Ammeter – Measures current.
- Ohmmeter – Measures resistance.
Modern DMMs often include additional features, such as continuity testing, diode testing, and temperature measurement, making them invaluable for a range of projects.
Why Every DIY Enthusiast Needs One
A DMM is more than a tool—it’s your diagnostic partner. Here’s why:
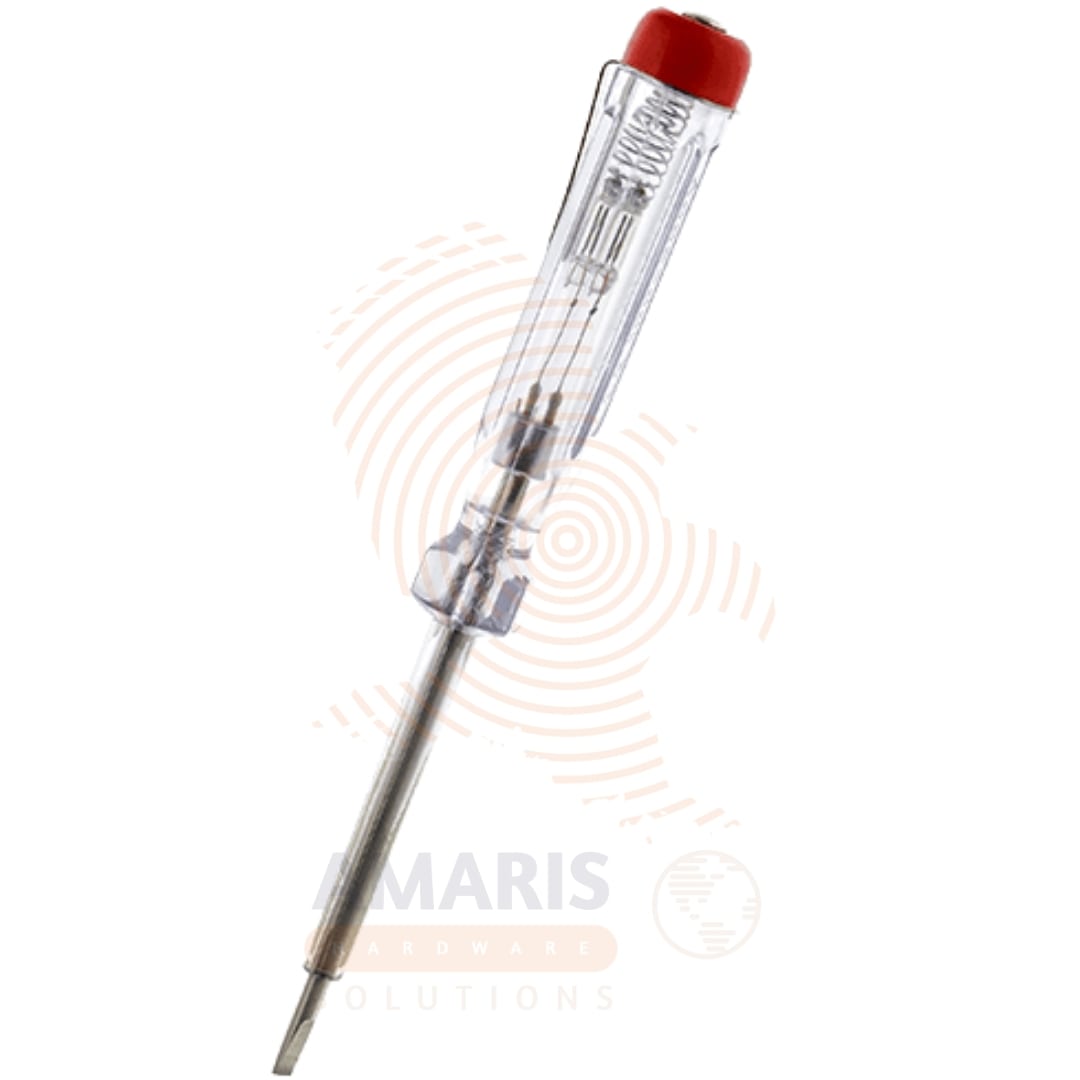
- Safety First: Identify live wires and avoid electrical shocks.
- Troubleshooting Made Easy: Pinpoint issues in circuits, appliances, or vehicles.
- Versatility: Perfect for electronics, automotive repair, and even home wiring.
Key Features to Look For in a DMM
When choosing a digital multimeter, consider the following:
- Accuracy and Resolution: Look for a model with at least 3 ½ digits of resolution.
- Auto-Ranging: Automatically selects the correct measurement range.
- Durability: Rubber casing or rugged design for protection against drops.
- Display: A backlit screen for visibility in low-light conditions.
- Additional Features: True RMS (for AC accuracy), temperature probes, and data hold functions.
How to Use a DMM
Here’s a quick step-by-step for the most common tasks:
- Measuring Voltage
- Set the dial to the “V” symbol (DC or AC as needed).
- Insert the black lead into the COM port and the red lead into the V/Ω port.
- Touch the probes to the test points and read the voltage on the display.
- Testing Continuity
- Set the dial to the continuity symbol (a diode or sound wave icon).
- Touch the probes to each end of the circuit.
- Listen for a beep to confirm a complete circuit.
- Measuring Resistance
- Turn the dial to the Ω symbol.
- Ensure the circuit is powered off.
- Place the probes on the component and read the resistance value.
Pro Tips for Beginners
- Always start with the highest range to avoid overloading your DMM.
- Never measure resistance in a live circuit—it can damage the meter.
- Invest in high-quality test leads for consistent results.
Top Picks for Every Budget
- Budget-Friendly: AstroAI Digital Multimeter – Compact and reliable.
- Mid-Range: Klein Tools MM400 – Durable with auto-ranging capabilities.
- High-End: Fluke 87V – Exceptional accuracy and advanced features for professionals.
DIY Projects Made Easy with a DMM
From diagnosing faulty Christmas lights to building your own circuits, a DMM opens up a world of possibilities. Its precision ensures your projects are safe, functional, and frustration-free.
With a digital multimeter in hand, you’re not just solving problems—you’re mastering the art of precision. Whether you’re a seasoned DIYer or just starting out, this tool is your gateway to unlocking your true potential.
Happy troubleshooting!


Add comment