 Acrylic Sealants
 Construction Adhesives
 Double-Sided Tape
 Duct Tape
 Electrical Tape
 Epoxy & Resins
 Silicone Sealants
 Masking Tape
 Automotive Wrenches & Socket Sets
 Battery Chargers & Jump Starters
 Car Jacks & Stands
 Car Wash & Detailing Products
 Diagnostic Tools
 Tire Inflators
 Vehicle Lighting
 Oil & Lubricants
 Adhesives & Sealants
 Bricks & Blocks
 Cement & Concrete
 Drywall & Plaster
 Flooring (Tiles, Wood, Laminate)
 Lumber & Plywood
 Paints, Primers & Coatings
 Insulation Materials
 Roofing Materials
 Circuit Breakers
 Electrical Cables & Wires
 Switches & Sockets
 Fuses & Relays
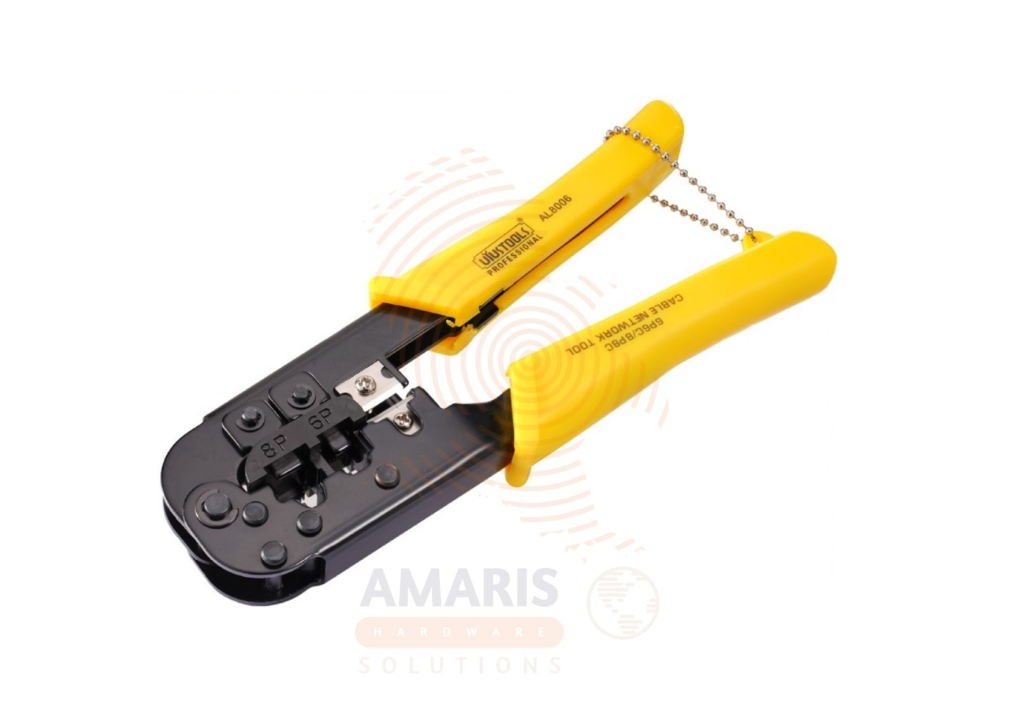
 Connectors & Terminals
 Electrical Boxes & Panels
 Conduit & Fittings
 Lighting Fixtures & Bulbs
 Extension Cords & Power Strips
 Anchors
 Bolts
Bolts Clips & Clamps
 Screws
 Nuts
Nuts Washers
 Rivets
 Nails
Nails Threaded Rods
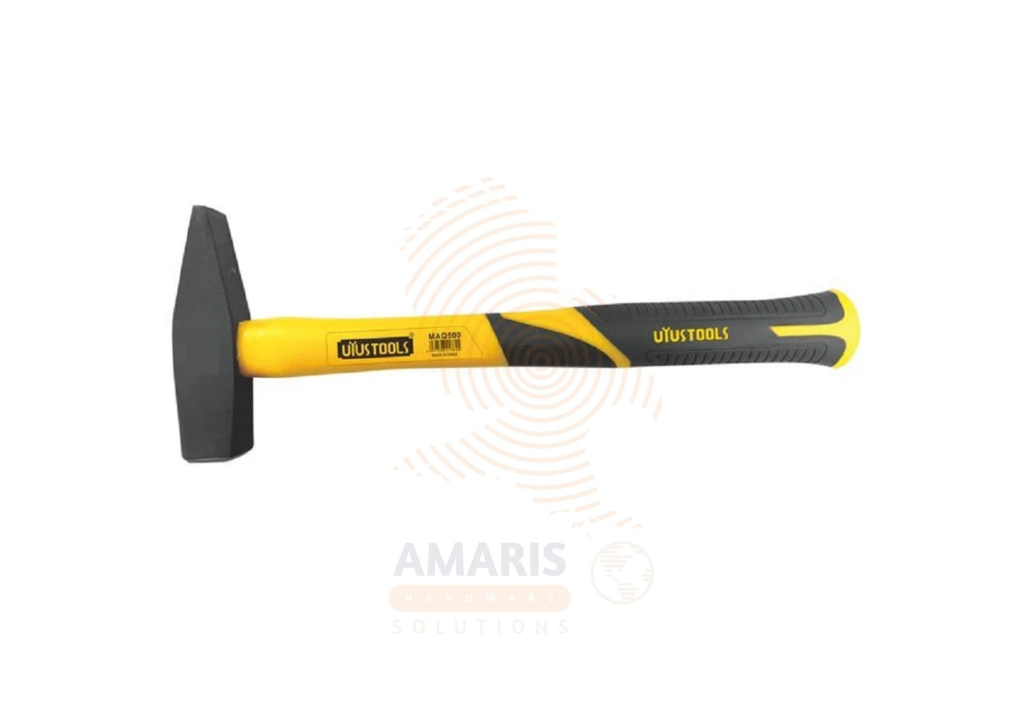
 Hammers
 Measuring Tools (Tapes, Levels, Calipers)
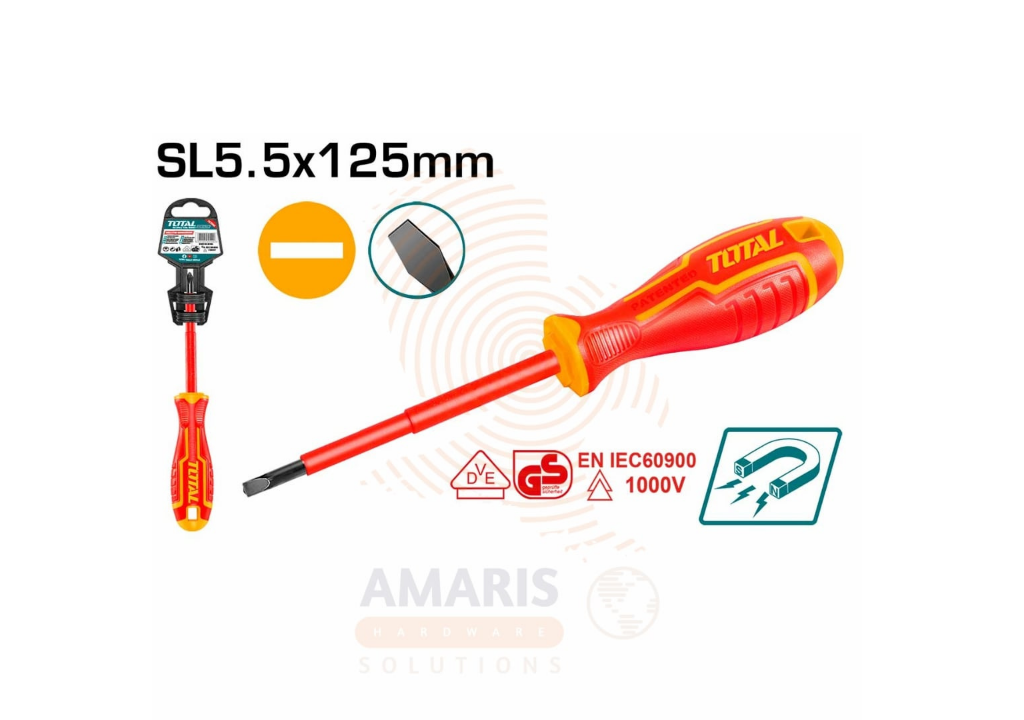
 Screwdrivers
 Pliers & Cutters
 Saws & Blades
 Chisels & Punches
 Allen Keys & Hex Keys
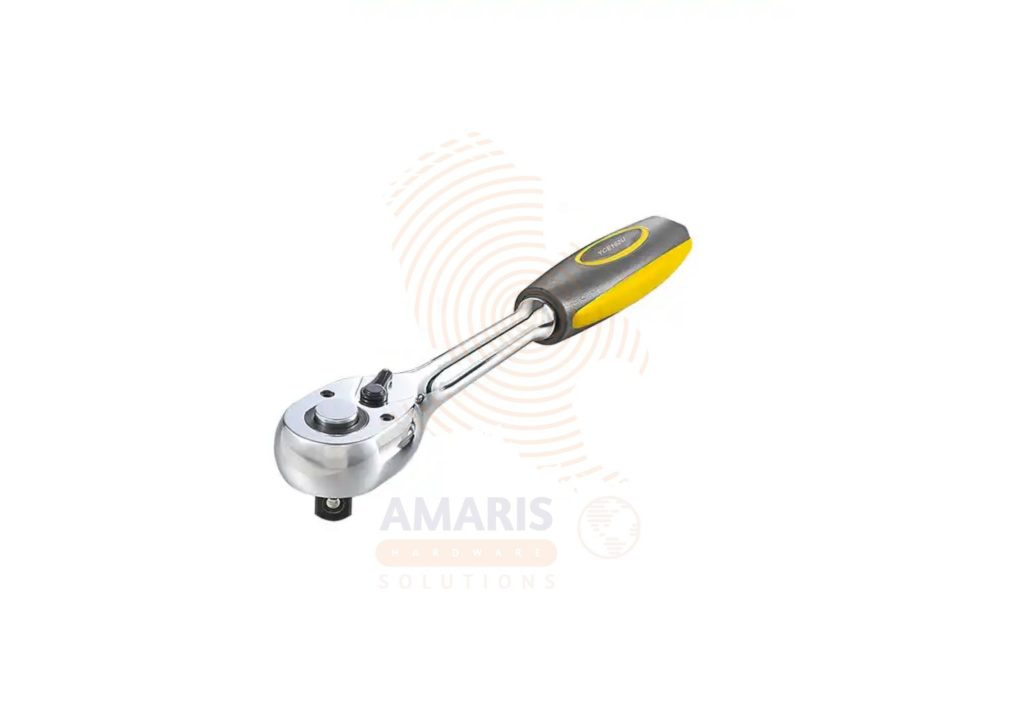
 Ratchets & Socket Sets
 Wrenches & Spanners
 Power Tool Accessories (Blades, Bits, Discs)
 Rotary Tools
 Saws (Circular, Jigsaw, Reciprocating)
 Drills & Drivers
 Grinders & Sanders
 Heat Guns
 Nail Guns
 Impact Wrenches
 Batteries & Chargers
 Pipes & Fittings (PVC, Copper, PEX)
 Plumbing Tools
 Pumps & Motors
 Sealants & Adhesives for Plumbing
 Valves & Taps
 Water Heaters
 Drainage Systems
 Faucets & Fixtures
 Hoses & Tubing
 Hinges & Latches
 Hooks & Brackets
 Window Hardware
 Chains & Cables
 Casters & Wheels
 Shelving & Storage Systems
 Door Handles & Locks
 Drawer Slides & Cabinet Hardware
 Personal Protective Equipment (PPE)
 Respirators & Masks
 Safety Glasses
 Safes
Safes Security Cameras
 Gloves
 Helmets
 Ear Protection
 Fire Safety Equipment
 Locks & Padlocks
 Motion Sensors & Alarms
 Garden Fencing
 Garden Furniture Hardware
 Lawn Mowers
 Trimmers & Edgers
 Shovels & Spades
 Rakes & Hoes
 Pruning Shears & Loppers
 Watering Systems (Hoses, Sprinklers, Nozzles)
 Interior Paints
 Paint Brushes & Rollers
 Paint Strippers & Thinners
 Paint Trays & Accessories
 Exterior Paints
 Spray Paints
 Primers & Undercoats
 Varnishes & Stains
 Gaskets & Seals
 Hydraulic Fittings
 Industrial Fasteners
 Industrial Hoses
 Lubricants & Greases
 Metal Sheets & Bars
 Bearings & Bushings
 Belts & Pulleys
 HVAC Filters
 Insulation for HVAC
 Air Conditioners
 Refrigerants
 Ventilation Ducts & Fittings
 Thermostats & Controllers
 Fans & Blowers
 Pegboards & Hooks
 Shelving Units
 Storage Bins & Containers
 Toolboxes & Tool Chests
 Workbenches
 Drawer Organizers
 Labeling Supplies
 Welding Accessories (Clamps, Brushes)
 Welding Electrodes & Rods
 Welding Helmets & Gloves
 Welding Machines
 Soldering Irons & Stations
 Flux & Solder Wire
 Generator Accessories
 Inverters
 Portable Generators
 Power Inverters
 Transfer Switches
 Diesel & Gasoline Generators
 Transport Equipment: Carts, Dollies, and Hand Trucks
 Storage Solutions: Pallets, Racks, and Containers
 Lifting Equipment: Hoists, Cranes, and Jacks
 Conveyors & Accessories: Belts & Rollers
 Office Chairs
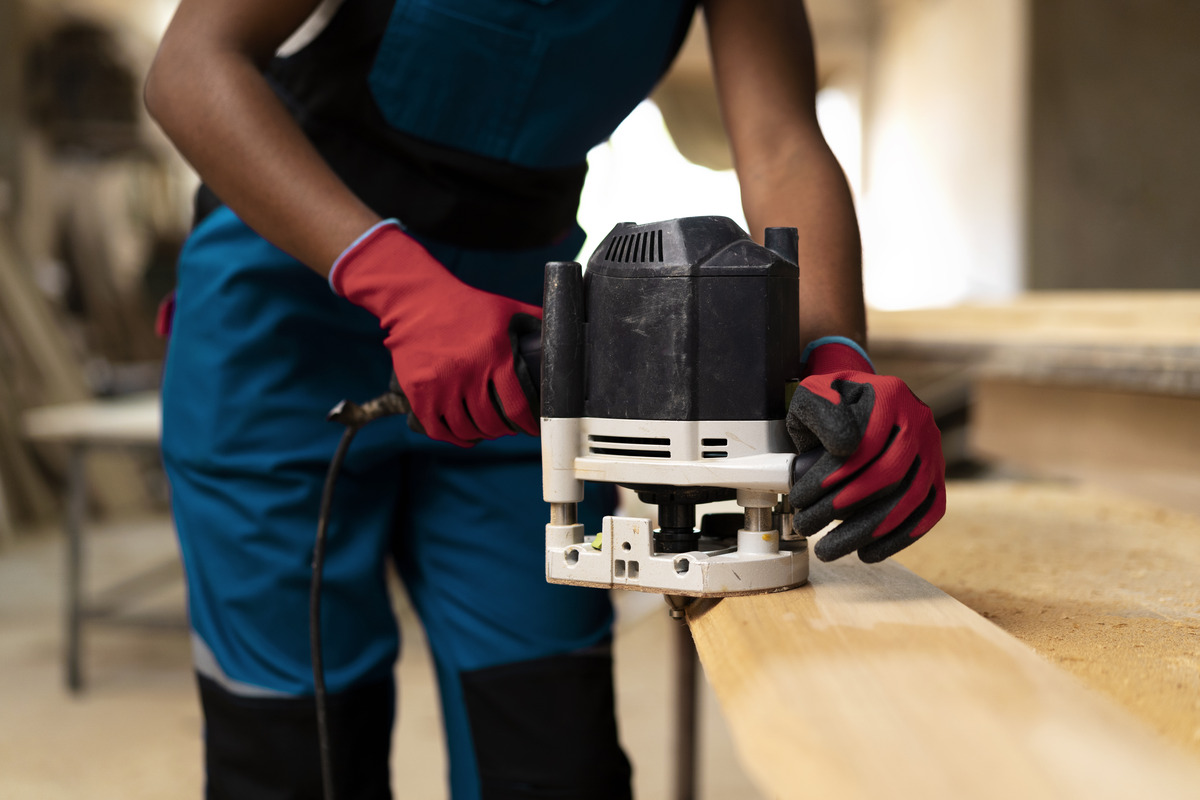
How to Use an Electronic Wire Stripper: A Step-by-Step Tutorial

Whether you’re an electrician, DIY enthusiast, or hobbyist, an electronic wire stripper is an invaluable tool to simplify the process of preparing wires for electrical connections. Unlike manual tools, electronic wire strippers make wire preparation quicker and more precise, reducing errors and strain. Here’s a step-by-step guide to using this handy device.
Step 1: Understand Your Wire Stripper
Before getting started, familiarize yourself with the electronic wire stripper. Most models include:
- Adjustable blade settings
- A gauge selector to match the wire size
- A mechanism for automatic stripping
Check the user manual for any specific instructions or features unique to your device.
Step 2: Gather Your Materials
Make sure you have the following:
- The electronic wire stripper
- Wires to be stripped
- Safety goggles
- A workspace free of clutter
Step 3: Choose the Right Settings
Determine the gauge of the wire you’ll be stripping. This information is often printed on the wire’s insulation or can be measured using a wire gauge tool. Set the stripper’s gauge selector accordingly. For thicker wires, select a larger gauge; for thinner wires, choose a smaller one.
Step 4: Adjust the Blade Depth (if necessary)
Some electronic wire strippers allow you to adjust the blade depth to ensure that you cut only the insulation and not the wire itself. Test on a scrap piece of wire to confirm your settings before proceeding.
Step 5: Insert the Wire
Place the wire into the designated slot or guide on the stripper. Align it so that the blade will cut the insulation at the desired length—usually 1/2 to 3/4 inch, depending on your project’s requirements.
Step 6: Activate the Stripper
Turn on the wire stripper and let it do the work. Depending on the model, this could involve pressing a button or simply clamping down on the handle. The tool will grip the wire, cut through the insulation, and remove it in one smooth motion.
Step 7: Inspect Your Work
After the insulation is removed, inspect the exposed wire to ensure no strands are cut or damaged. A clean strip is critical for secure electrical connections.
Step 8: Repeat as Needed
Repeat the process for all the wires you need to strip. If working on multiple wires of varying sizes, double-check and adjust the settings between each strip to avoid errors.
Bonus Tips
- Always wear safety goggles to protect your eyes from flying insulation debris.
- Keep the tool’s blades clean and sharp for optimal performance.
- Practice on spare wires if you’re new to electronic wire strippers.
Using an electronic wire stripper doesn’t just save time; it ensures consistency and precision in your work. With this step-by-step guide, you’ll master this tool in no time, making your electrical projects easier and more efficient.